Getting a sharp, professional-looking paint job often hinges on a detail that's easy to overlook: the precise moment and method for pulling off painter's tape. While it may seem like a minor step, removing tape too early or too late can ruin an otherwise smooth finish. The general rule is to wait until the paint is dry to the touch—usually within an hour or two—before peeling, but the exact timing can vary depending on the project and the tape's specifications.
Painter's tape is a low-adhesion tape designed specifically for painting, used to mask off baseboards, moldings, and trim around doors, ceilings, and windows. Unlike standard masking tape or duct tape, its gentler adhesive is meant to protect dried paint from being pulled up during removal. However, not all painter's tapes are alike; some are formulated to stay on surfaces for up to 14 days without leaving residue, while others require quicker removal to avoid bonding with the paint.
Why Timing Matters for Tape Removal
Removing tape while the paint is still wet can create a mess—paint may splatter and seep into areas you intended to keep clean. On the other hand, waiting too long, especially beyond the tape's recommended duration, can cause the adhesive to bond with the paint, leading to chipped edges when you pull. For most projects, the sweet spot is when the paint is dry to the touch but not fully cured. That could be as soon as an hour after application, but it's important to check the manufacturer's instructions for the specific tape you're using.
The number of coats you're applying also plays a role. For a quick two-coat job, you might consider retaping between coats for a cleaner finish, though it's not always necessary—especially on larger surfaces. Some professional painters prefer to retape intricate corners between coats, but it's largely a matter of preference. For complex designs with sharp lines, leaving the tape in place until all coats are complete can be more practical, but be mindful of the 14-day limit for many products.
Techniques for Clean Removal
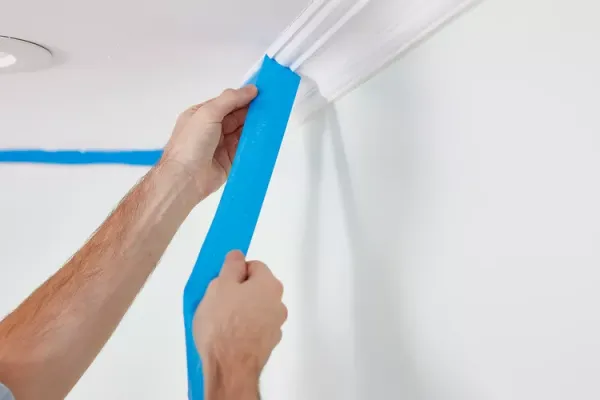
When it's time to remove the tape, a light touch is key. Start at one end and pull the strip back on itself in a slow, steady motion. Pulling at a 45- to 90-degree angle helps the tape cut through the dried paint, creating a crisp edge. If the tape tears or sticks, a sharp utility knife or razor blade can be used to carefully slice through the paint along the tape's edge. This scoring technique is particularly useful if you suspect the paint is too dry and might chip during removal.
For those who prefer to retape between coats, it's advisable to wait until the previous coat is fully dry—typically about 24 hours—before applying new tape. Using a low-tack tape designed for delicate surfaces can be beneficial in such cases, as it minimizes the risk of pulling up the fresh paint.
Ultimately, mastering painter's tape removal is about balancing patience and precision. By paying attention to the tape's recommended dwell time and using the correct pulling technique, you can achieve clean, sharp lines that give your paint job a polished, professional appearance.
Comments 0