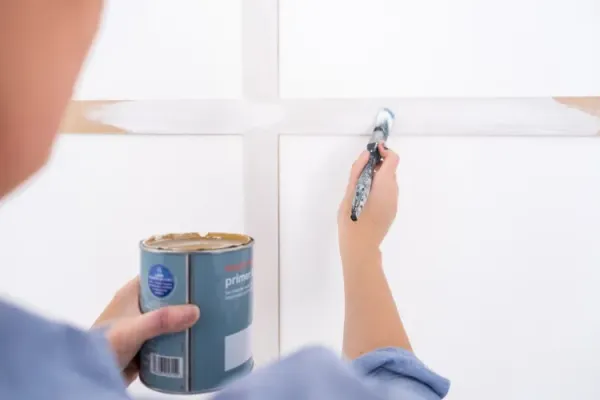
When it comes to painting, the primer stage is often the most time-consuming, yet it's a critical step for ensuring a uniform finish and proper paint adhesion. According to professional painters, the secret to speeding up this process lies not in a special tool or technique, but in the initial selection of the primer itself.
"This results in a smoother base, in fewer passes," says Tom Orr, CEO of Northwest Exteriors in California. Rafael Carrasquel, head of residential production at CertaPro Painters of Shawnee, Kansas, echoes this sentiment: "Use the right primer for the right substrate." The market offers a variety of primers, each designed for specific conditions, from new drywall to mold-prone areas.
Common Primer Types and Their Uses
Choosing the right primer is about matching the product to the surface. For instance, a drywall interior primer is ideal for new drywall, while a mold and mildew primer is recommended for interior surfaces with light mold. Shellac-based primers are favored for their fast-drying properties and ability to cover tough stains and adhere to difficult surfaces. For exterior trim and older siding that tends to absorb other primers, a high-build, quick-dry primer is the go-to option. If the surface is basic and speed is a priority, an all-in-one primer can simplify the process, as Lewis Johnson, Director of Cheshire Home Upgrades in the UK, points out, avoiding the need to switch between multiple products.
Additional Time-Saving Techniques
Beyond primer selection, the pros recommend a few other strategies to expedite the priming process. Planning ahead is crucial. "Work in uniform sections, particularly if you're painting outside," advises Orr. Johnson suggests starting from the top—ceiling, then walls, and finally woodwork—to avoid drips and rework.
Preparation doesn't have to be exhaustive. "A quick de-grease and a light sand are enough prep," says Johnson. Orr adds that scuff-sanding glossy surfaces is important to give the primer something to grip onto.
Tinting the primer is another time-saver, especially for drastic color changes. Carrasquel explains that since most primers are white, moving to a color paint coat requires multiple coats to hide the white base. Tinting the primer with a small amount of the final paint color reduces the number of paint coats needed. However, only white primer can be tinted; pre-tinted primers like gray or beige are already pigmented and cannot be adjusted.
Tools That Make a Difference
Using the right tools can also speed up the job. A wide roller, doubling from 9 inches to 18 inches, can cut priming time in half. A small angled brush is recommended for quick cut-ins where the paint meets the wall. For very large areas, Carrasquel suggests using an airless paint sprayer as the fastest method.
These expert tips, drawn from professionals with years of hands-on experience, offer practical ways to streamline the priming process, ensuring a smooth and efficient painting project.
Comments 0