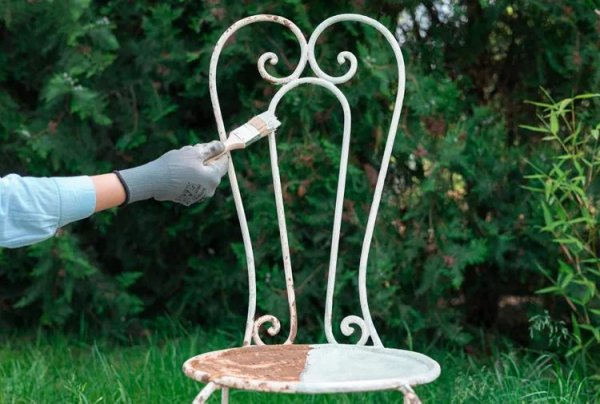
Rusted metal often looks beyond saving, with its bumpy, flaking surface suggesting that a fresh coat of paint would only hide the problem temporarily. But most rusted items that retain their underlying structure can be preserved and revitalized with the right preparation. The key is a thorough cleaning, a stabilizing primer, and a compatible top coat. Here's what you need to know before tackling that weathered patio chair, garden gate, or metal sign.
The process is straightforward for a beginner, typically taking about an hour of active work plus a full day for the primer to dry. The estimated cost is between $10 and $20, assuming you already have basic tools like a wire brush, sandpaper, and a shop vacuum. The most important step is not the paint itself, but the preparation—specifically, how you handle the rust.
Can You Paint Over Rust?
Ideally, you would sand down to bare metal before painting, but that's not always practical. Painting directly over rust is possible, provided the rust is stable—meaning it's not actively flaking or powdery. In that case, a primer designed for metal is essential. A rust converter primer is particularly effective because it chemically changes the rust into a black, inert layer and seals it with polymers, preventing the rust from bleeding through lighter paint colors and halting further oxidation.
However, not all rusted items are worth saving. If the metal is deeply pitted or has pinholes, the structural integrity is likely compromised. Even if the surface looks promising at first, scraping and brushing may reveal layer after layer of rust with no solid metal underneath. At that point, painting would be a temporary fix at best.
Step-by-Step Restoration
Start by using a wire brush to remove loose rust and paint, working gently to avoid damaging the underlying metal. For larger flakes, a putty knife or five-in-one tool can speed up the process. Once the big pieces are gone, tap the metal lightly with a hammer to test its strength—this is often when unstable sections collapse, saving you from wasting effort on a lost cause.
Next, sand the surface to smooth out remaining rust, cleaning both the surface and sandpaper frequently. Extend the sanding a few inches beyond the rusted area to ensure a good edge for the primer. After sanding, vacuum up the dust with a brush attachment, then wipe down with a degreaser or denatured alcohol to remove any grease or oil. Avoid paint thinner or mineral spirits unless you also want to remove the old paint, as they can soften it and create a rippled texture under your new coat.
Once the surface is clean and dry, apply a thin coat of rust converter primer, covering the rusted area and a few inches beyond. Many converters go on clear and turn black as they react with the rust. Allow at least 24 hours for it to dry completely. Finally, apply your top coat—water- or oil-based paint, depending on what the converter instructions specify. Because the primer dries black, you may need three or four coats to achieve your desired color.
Tips for a Lasting Finish
After brushing and sanding, move to priming quickly to prevent the metal from re-rusting. For small pits or corrosion, a fiberglass-based filler can smooth the surface before priming. If you're dealing with a large area, a wire wheel on a hand grinder can save time compared to manual brushing.
One safety note: older metal items, especially those from homes built before 1978, may have lead-based paint. If you suspect lead, follow proper safety procedures, including wearing eye and breathing protection and using a shop vacuum with a HEPA filter to contain dust.
With these steps, most rusted metal items can be given a new lease on life, saving them from the scrap heap and adding years of use.
Comments 0